This holiday season students are getting festive in Mr. Codio’s AutoCAD Drafting class. From ornaments to Christmas houses, students have filled the room with their creations. Using Mr. Codio’s 3D printer and AutoCAD, a few students created Christmas ornaments that they have hung from the Christmas tree. Below are a few students’ artist statements along with their ornament designs.

Lauren Henriquez, Senior
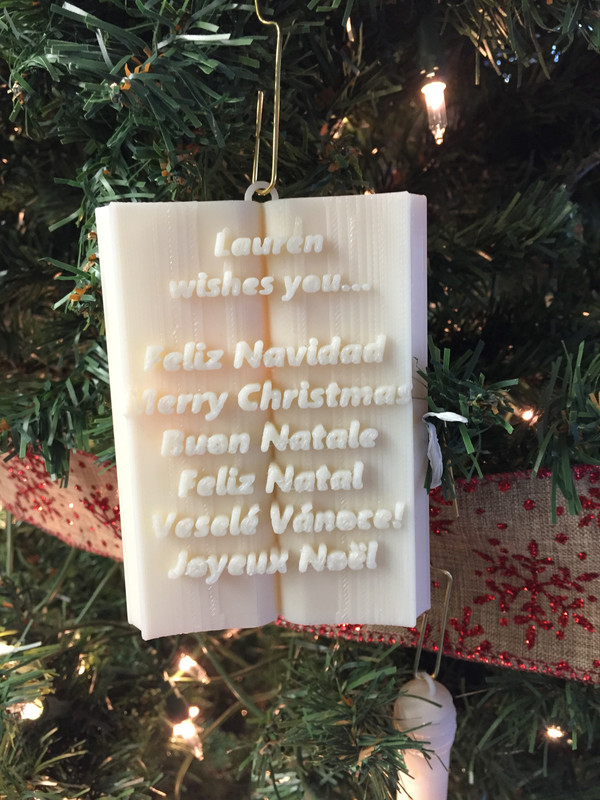
The idea of the ornament was meant to include different cultures to show the diversity of the world we live in. Although Christmas is celebrated by many, it can be celebrated differently and mean something to different people. By incorporating different languages it brings a new light to how important other people are. My ornament says Merry Christmas in languages like Spanish, French, Portuguese, Italian, and Czech. Some of these languages aren’t heard as frequently, which made me want to include them more, to bring less common cultures to light.
My ornament will be placed on a Christmas tree in the Architecture room along with other ornaments. I wanted my ornament to be meaningful and stand out from the others. First I created the ornament in AutoCAD so that it can then be printed as a 3-D model. I used commands like extrude, explode, multi-line text, and move. Overall, I am proud of the way my ornament came out.
Lawrence Pierre, Senior
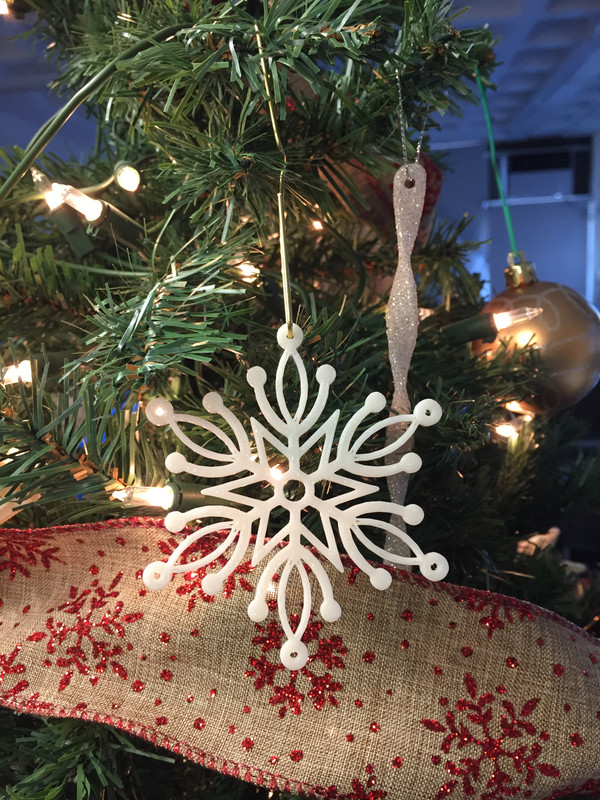
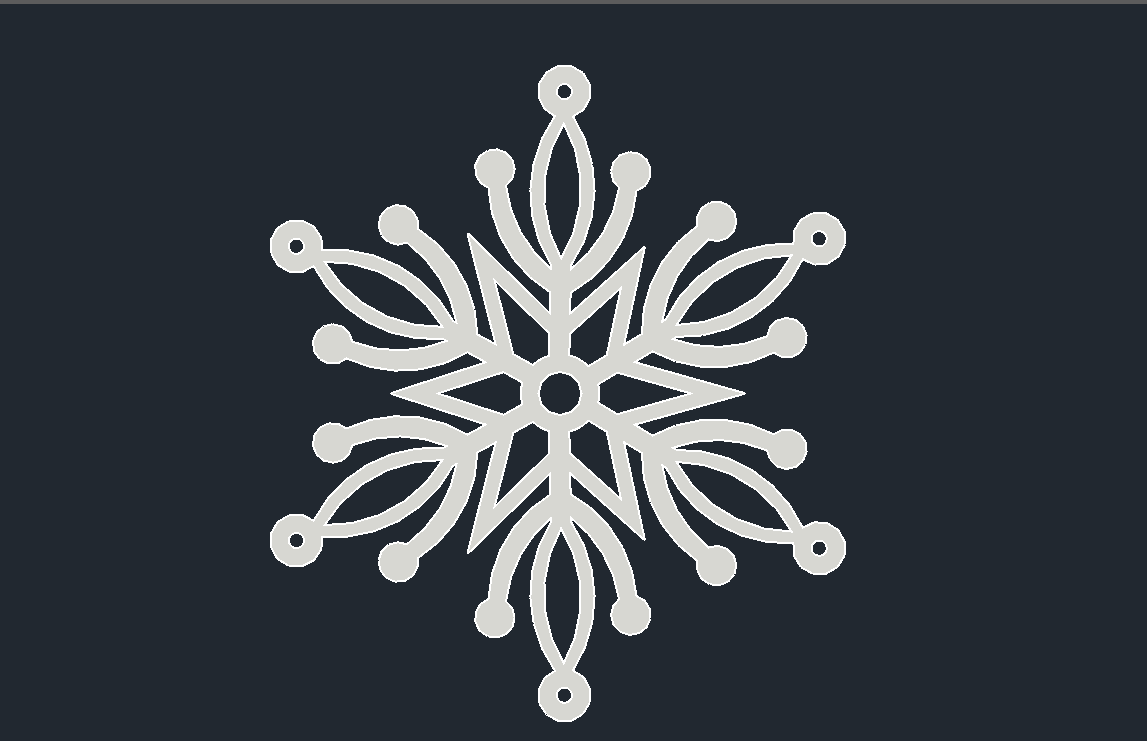
I made a Christmas ornament to add to all the Christmas decorations in my Architecture teacher’s room. Looking at all the Christmas lights and wreaths and Christmas tree, I felt I had to add to it. So, I joined the ornament contest and I used AutoCAD to design a couple of ornaments including a snowman, a candy cane, a star, and a few snowflakes. My focus was not only on the ornament but on the beautification of the architecture room.
Learning that our 3-D printer would take a while to 3-D print the ornaments, I settled on two of my snowflakes to be 3-D printed. I used commands line, circle, and arc to form the curves, and I used trim and extend to create a more detailed snowflake. I also used the commands rotate and mirror because of the snowflake’s cylindrical symmetry. I’m happy with my snowflakes and it was a fun experience using a 3–D printer for the first time.
Sheena Luke, Sophomore

In my inexperience with AutoCAD for modeling, I entered this short project blindly. Despite receiving assistance from Mr. Codio, the senior architecture teacher, I quickly forgot what he taught me in just 40 minutes. Thus, this project served as an experiment as I explored AutoCAD 3D features and commands. With a vague memory of my previous learning session, I attempted to recap everything I had learned, but I found that I couldn’t follow through. As there was no way for me to follow the steps I was taught, I chose to bypass the first major step of outlining and using a photo as a reference. As an alternative, I decided to make a snowman ornament only by combining 3D shapes.
The process went as follows:
To make the snowman’s body, I used three spheres of increasing sizes from top to bottom. For the snowman’s “arms”, I used an elongated and horizontal cylinder. In order to create the facial features, eyes, and nose, I used two small spheres and a cone. The top hat was a flattened cylinder with a larger cylinder in the middle, extending upwards. The project was completed after I placed all components in the correct places and combined using the union command.
Leslie Cuji, Senior
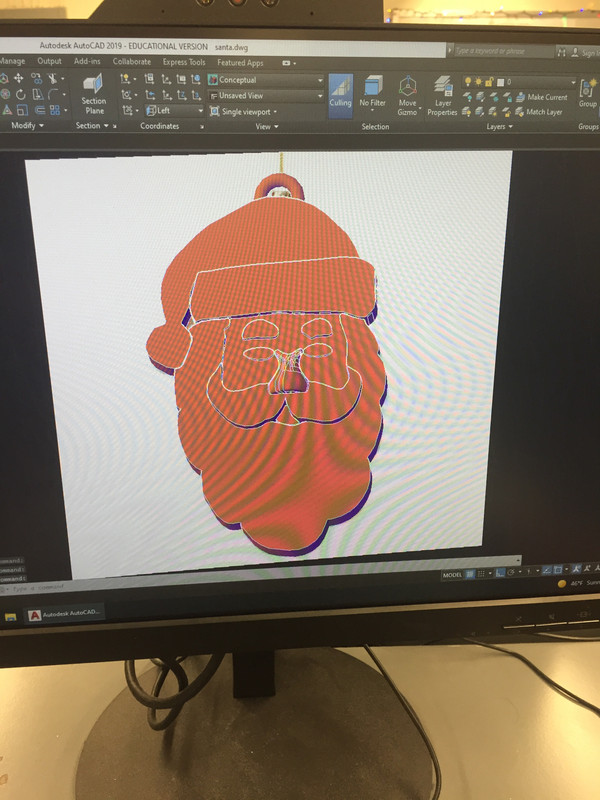
My Christmas ornament was Santa Claus. My project took me four days to get it done. What I learned doing this project was different commands and seeing different views to turn it into a 3D model. I had to learn how to give the drawing space for each facial feature. Each face feature had its own 3D model and in order to make it realistic, I had to know the exact measurements so it wouldn’t look like a flat Santa Claus.
One of the difficulties that I had doing this project was with the nose. I revolved my nose which makes 2 noses. Then I sliced it, placed the picture in a front view, and rotated to attach it to the face. Also, the measurements I had to fix more than one time because it was not going exactly the way I wanted it. It starts getting confusing when you place the image in different types of views because it doesn’t look accurate until you look at it through the side. Doing this project taught me how to manage 3D models and find easier ways how to draw them.
Mahalia Saint-Eloi, Senior
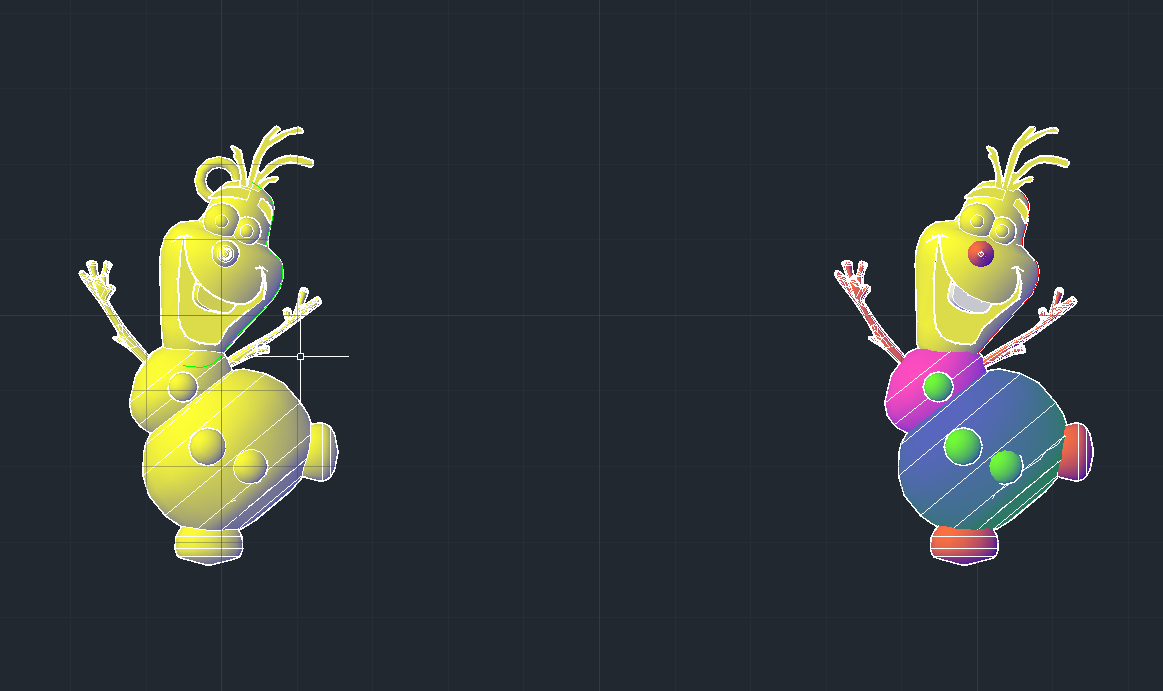
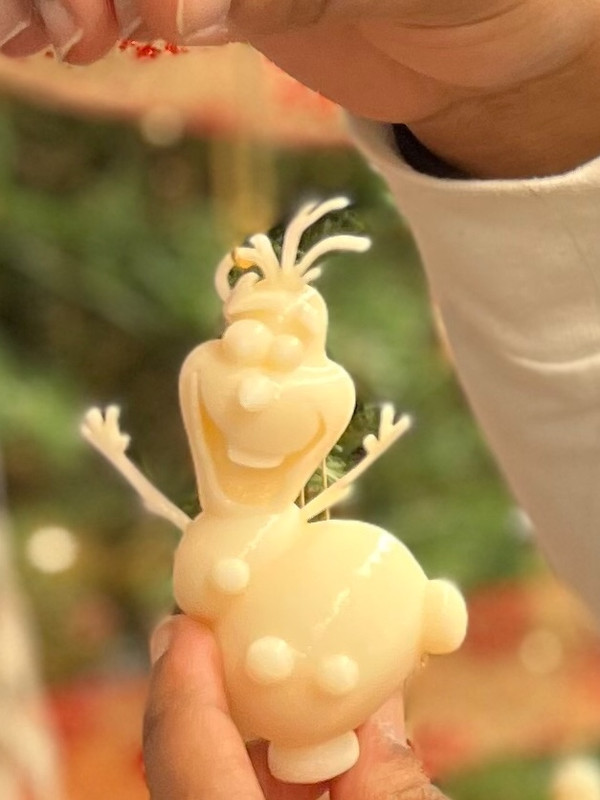
The Christmas ornament I chose to design was Olaf from the Frozen series. I wanted to do this to step away from the traditional Christmas objects like snowmen, reindeer, snowflakes, etc. This project took me about a week to create with a few interferences. I had never designed something in a 3D form on AutoCAD besides a lightbox that I completed years ago and forgot the whole process. I had to get some help from Mr. Codio and will probably need it when creating another 3D object, but I think it was nice seeing the whole process of how something like this comes to be.
Throughout this process, I used commands like subtract, revolve, and extrude, which were the main commands to create the 3D Olaf. Some of the elements had to be created separately like the buttons, the nose, and the mouth then added later on to the things that were created as a whole-together like the body.
