AIM: How do we use the revovle command to create an object in AutoCAD?
Do Now:
-
What is meant by the Revolve?
-
What type of objects can we create using the revovle command? “List 3”
-
What type of objects can we revelve in AutoCAD?
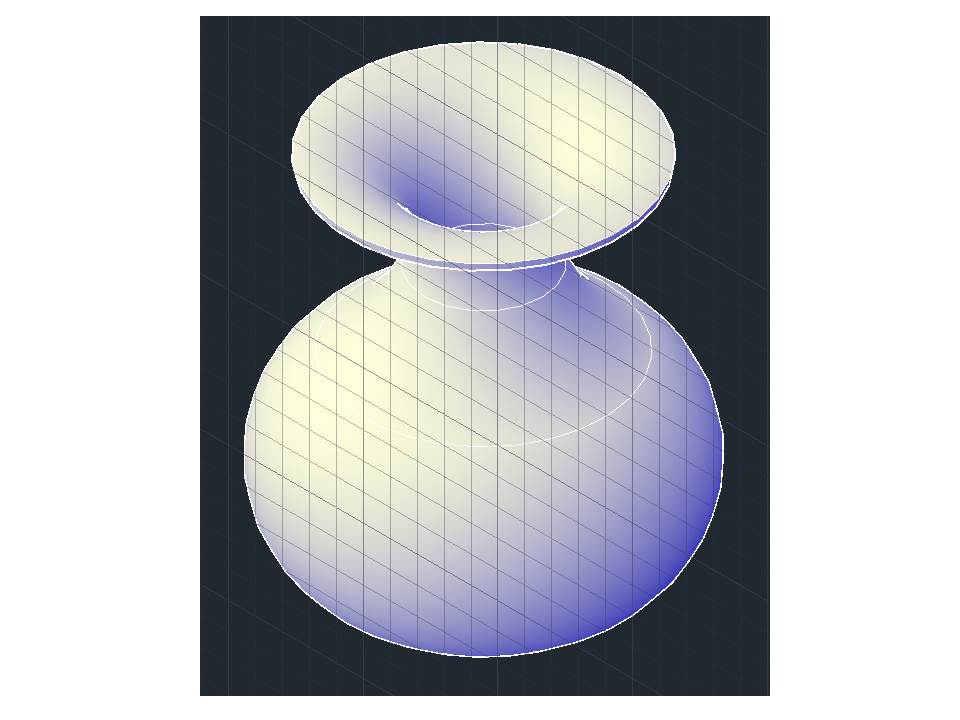
- Creates a 3D solid or surface by sweeping an object around an axis.
- We can create a Cups, Vase, Bowls, Table, etc using the revovel command.
- Objects That Can Be Revolved,
Surfaces Elliptical arcs 2D solids Solids 2D and 3D splines Traces Arcs 2D and 3D polylines Ellipses Circles Regions Note Select face and edge subobjects by pressing Ctrl while you select them.You cannot revolve objects contained within a block or objects that will self-intersect. REVOLVE ignores the width of a polyline and revolves from the center of the path of the polyline.
The right-hand rule determines the positive direction of rotation.
Summary
Open profiles create surfaces and closed profiles can create either a solid or a surface. The MOde option controls is a solid of surface is created. When creating a surface, SURFACEMODELINGMODE system variable controls if a procedural or NURBS surface is created.
Revolve path and profile curves can be:
- Open or closed
- Planar or non-planar
- Solid and surface edges
- A single object (to extrude multiple lines, convert them to a single object with the JOIN command)
- A single region (to extrude multiple regions, first convert them to a single object with the UNION command)
Revolving An Object
•Step 1: Have an idea of what to design.
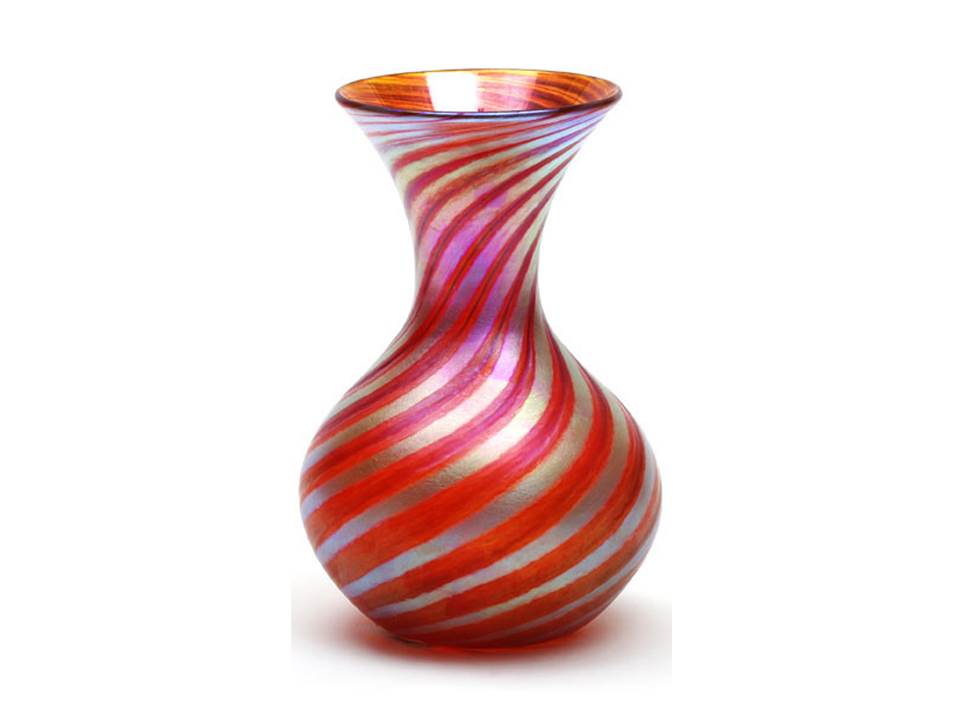
- Step 2: Have a sense of scale for your object.
- Step3: Cut the idea in half.
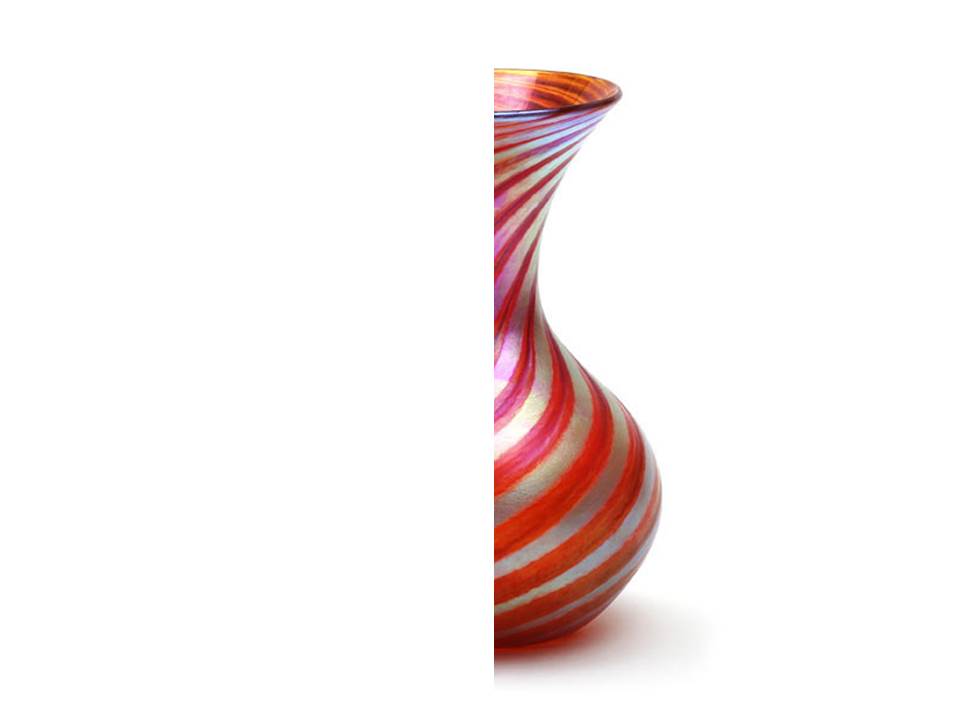
- Create only half of the object using various 2d commands such a LINE, ARC, SPLINE RECTANGLE, POLYGON, ETC.
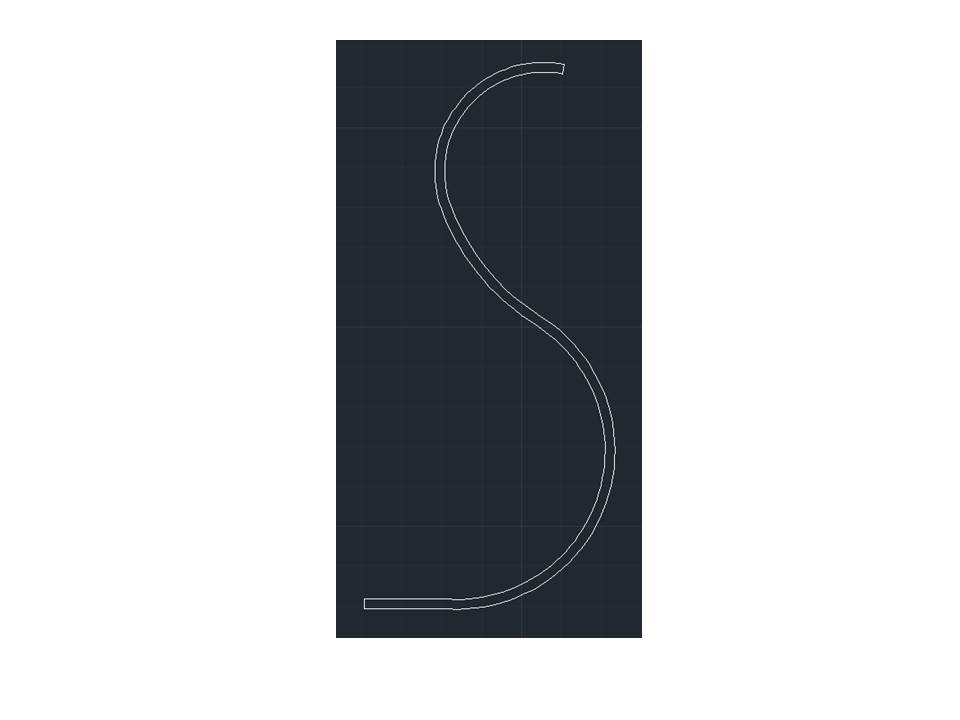
- Step 4: Create an Axis point in order to revolve your object.
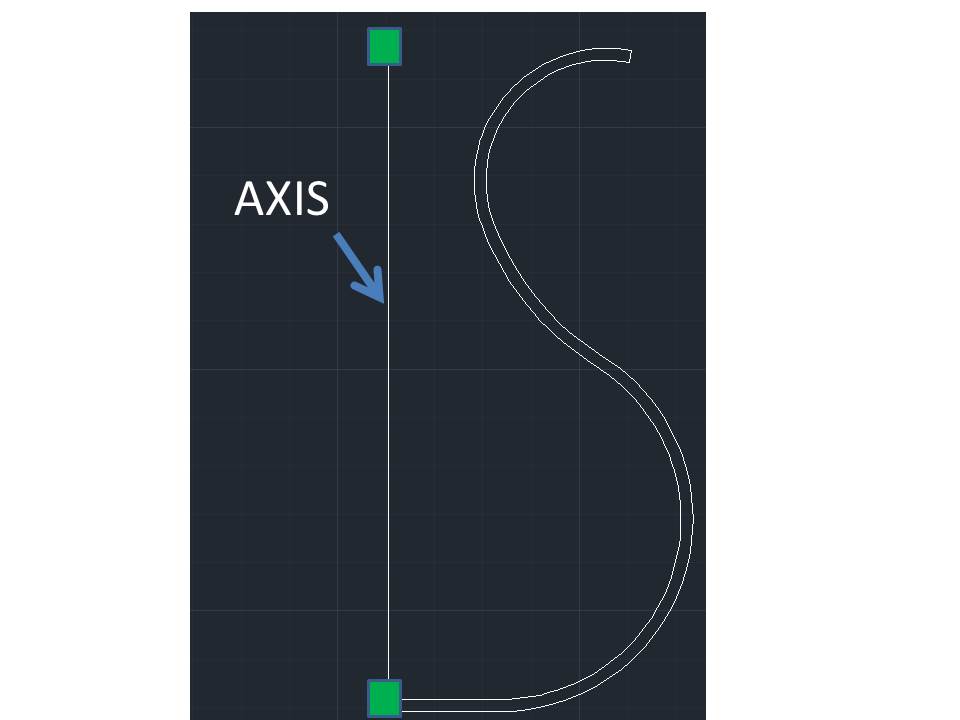
- Step 5: Specify angle of revolution or [STart angle/Reverse/EXpression] <360>: “press enter if your design revolve 360 degrees.”