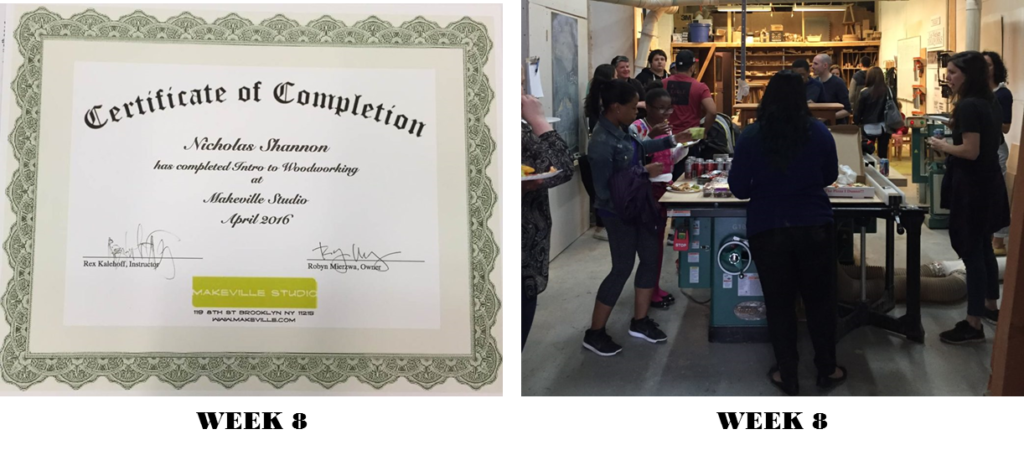
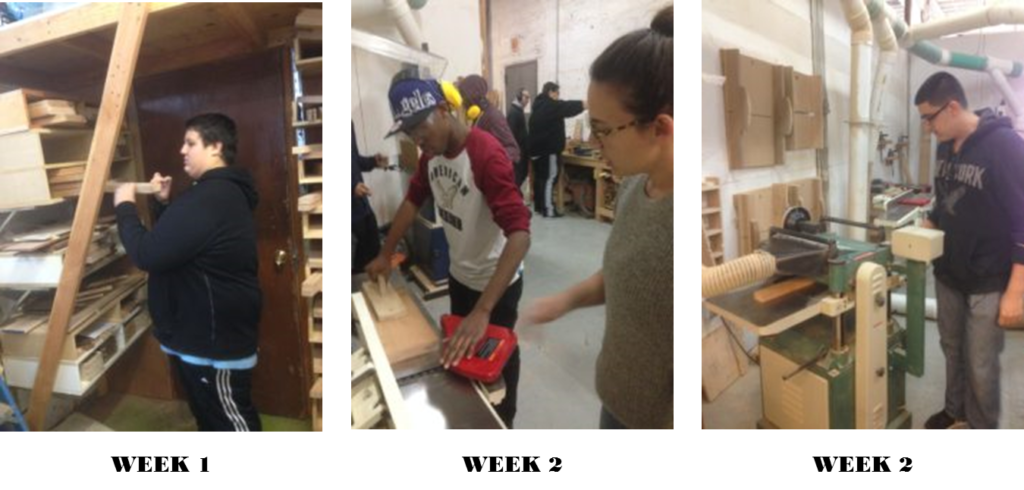
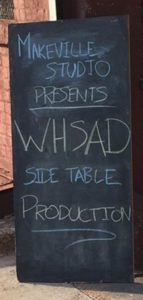
 As the onsite Woodworking class at Makeville studio (located in the Gowanus section of Brooklyn) comes to an end, WHSAD students who participated celebrate their hard work with their family and friends. This class was designed for beginners with little to no woodworking experience. This eight-session class included classes and workshops on wood physics, shop safety and etiquette, an introduction to joinery concepts, and hands-on experience with both hand tools and machinery. The final project for this class was a small side table with tapered legs. This course gave each student the confidence and knowledge to work safely in the shop on their own projects. Each student received a certification of completion to the intro of woodworking at Makeville Studio.
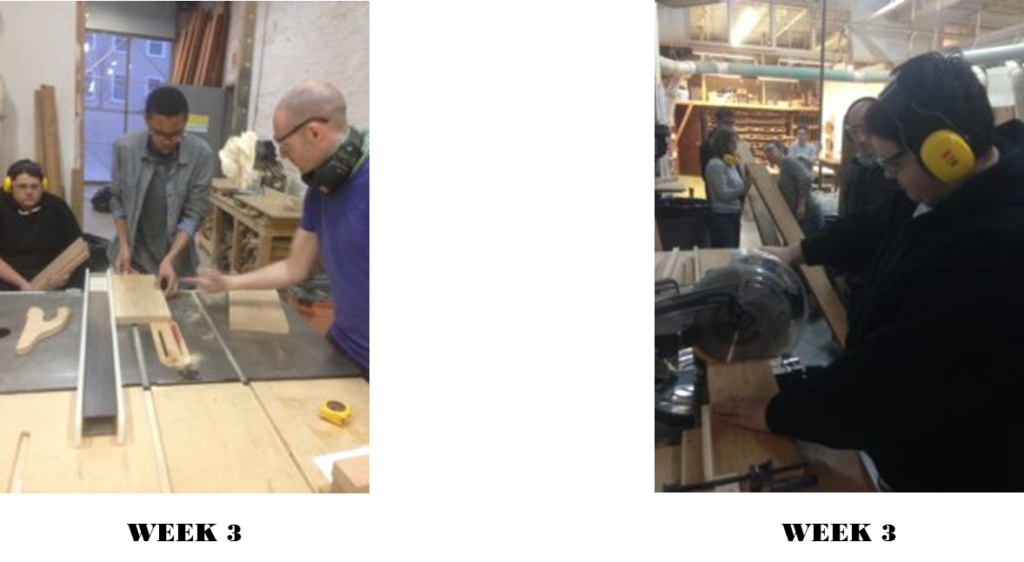
Week 1 – WHSAD students discuss the safety rules for the class , end table project, and choose their wood pieces to use for their end table production.
Week 2- WHSAD students use the planer and jointer to flatten top and bottom of their wooden boards.
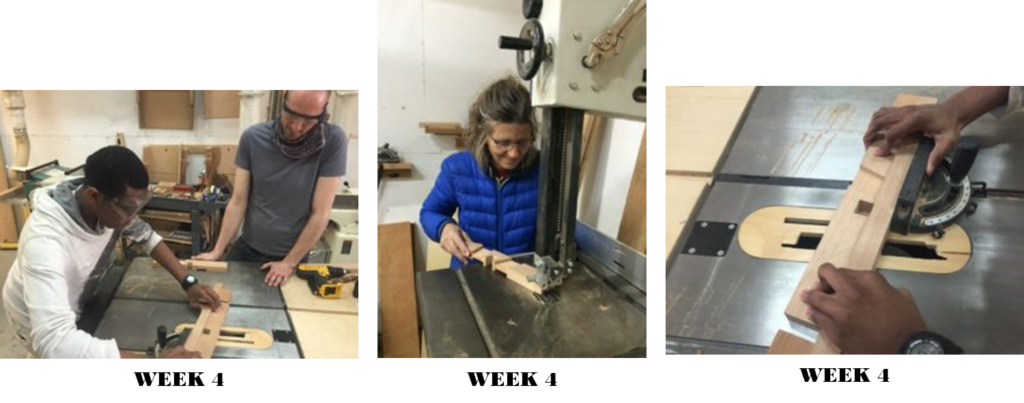
Week 3 – Cutting the table parts to their final size by cross-cutting and ripping on the table saw
Week 4- Creating a cross lap joint and bridle joint to connect the stretcher and table legs
” Ms. Moos uses the band-saw to cut the ends of her stretchers at an angle”
Week 5 – Wood gluing and clamping boards together to create the table tops
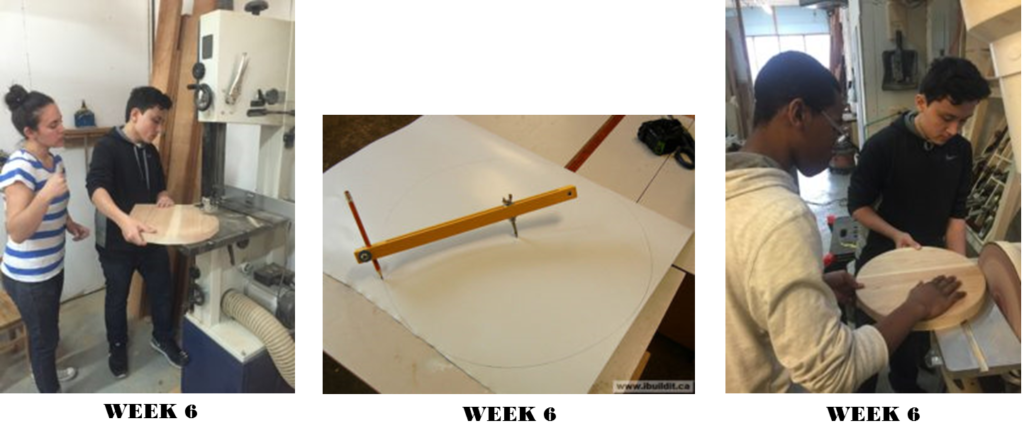
Week 6- With the help of a beam compass, WHSAD students out line their table tops in order to cut it with the band-saw and sand it with the disc sander.
Week 6- 2 hour of sanding our end table pieces using grains ranging from 80 to 320 grade. The Larger the number the smoother the finish.
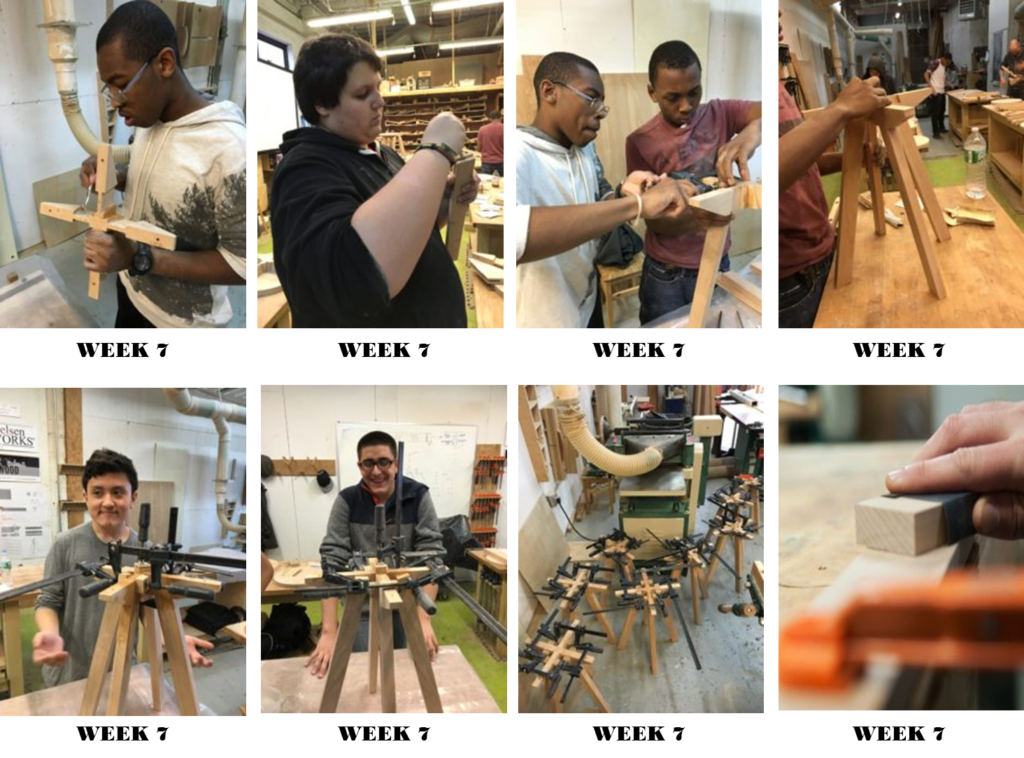
Week 7 – Students work together to glue their their Stretchers and table legs together
Week 7 – Clamps are versatile tools that serve to temporarily hold work securely in place. They are used for many applications including carpentry, woodworking, furniture making, welding,construction and metal working.Clamp styles include C-clamps, bar clamps, pipe clamps, and hand screws.
Week 7- 1 hour of sanding our end table pieces using grains ranging from 80 to 320 grade. The Larger the number the smoother the finish.
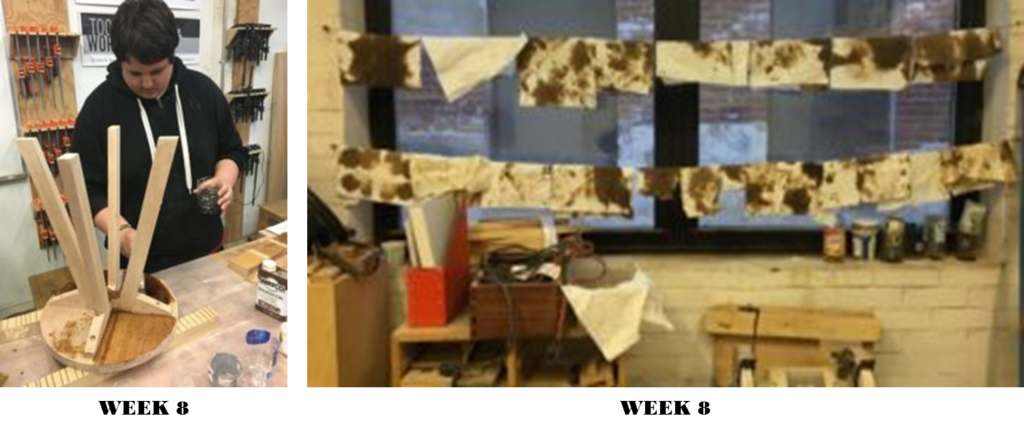
Week 8 – Applying danish oil to give our end table a different wood finish
Week 8-Danish Oil is a unique blend of penetrating oil & varnish hardens in the wood, not on the wood. Danish Oil penetrates deep into wood pores to protect from within and to enhance the natural look and feel of the wood. It creates the rich, warm glow of a traditional hand-rubbed finish. Many projects can be completed in less than an hour – simply brush or wipe on and wipe off.
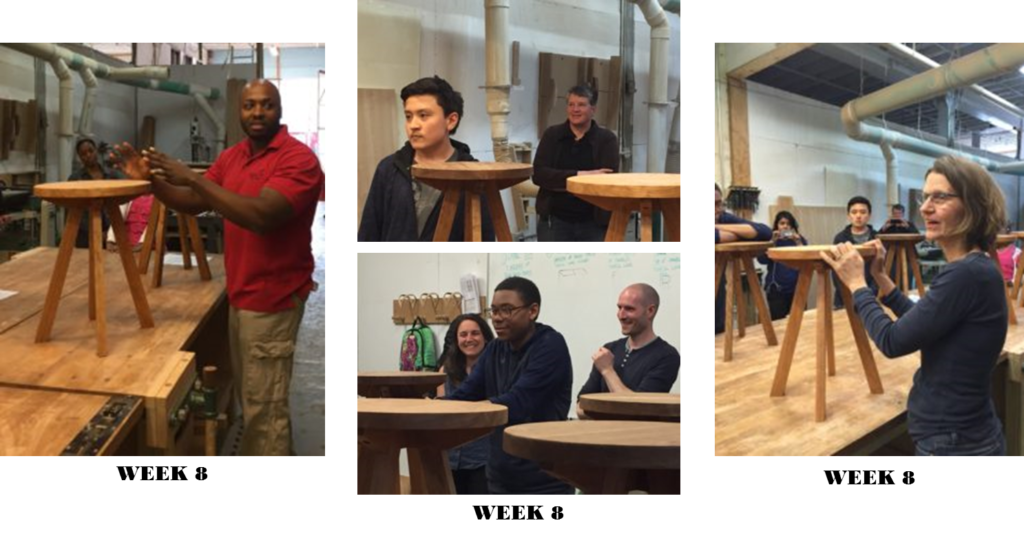
Week 8 – Standing next to our masterpiece and explaining the process of our end table creation from beginning to end.
LET’S PARTY
