
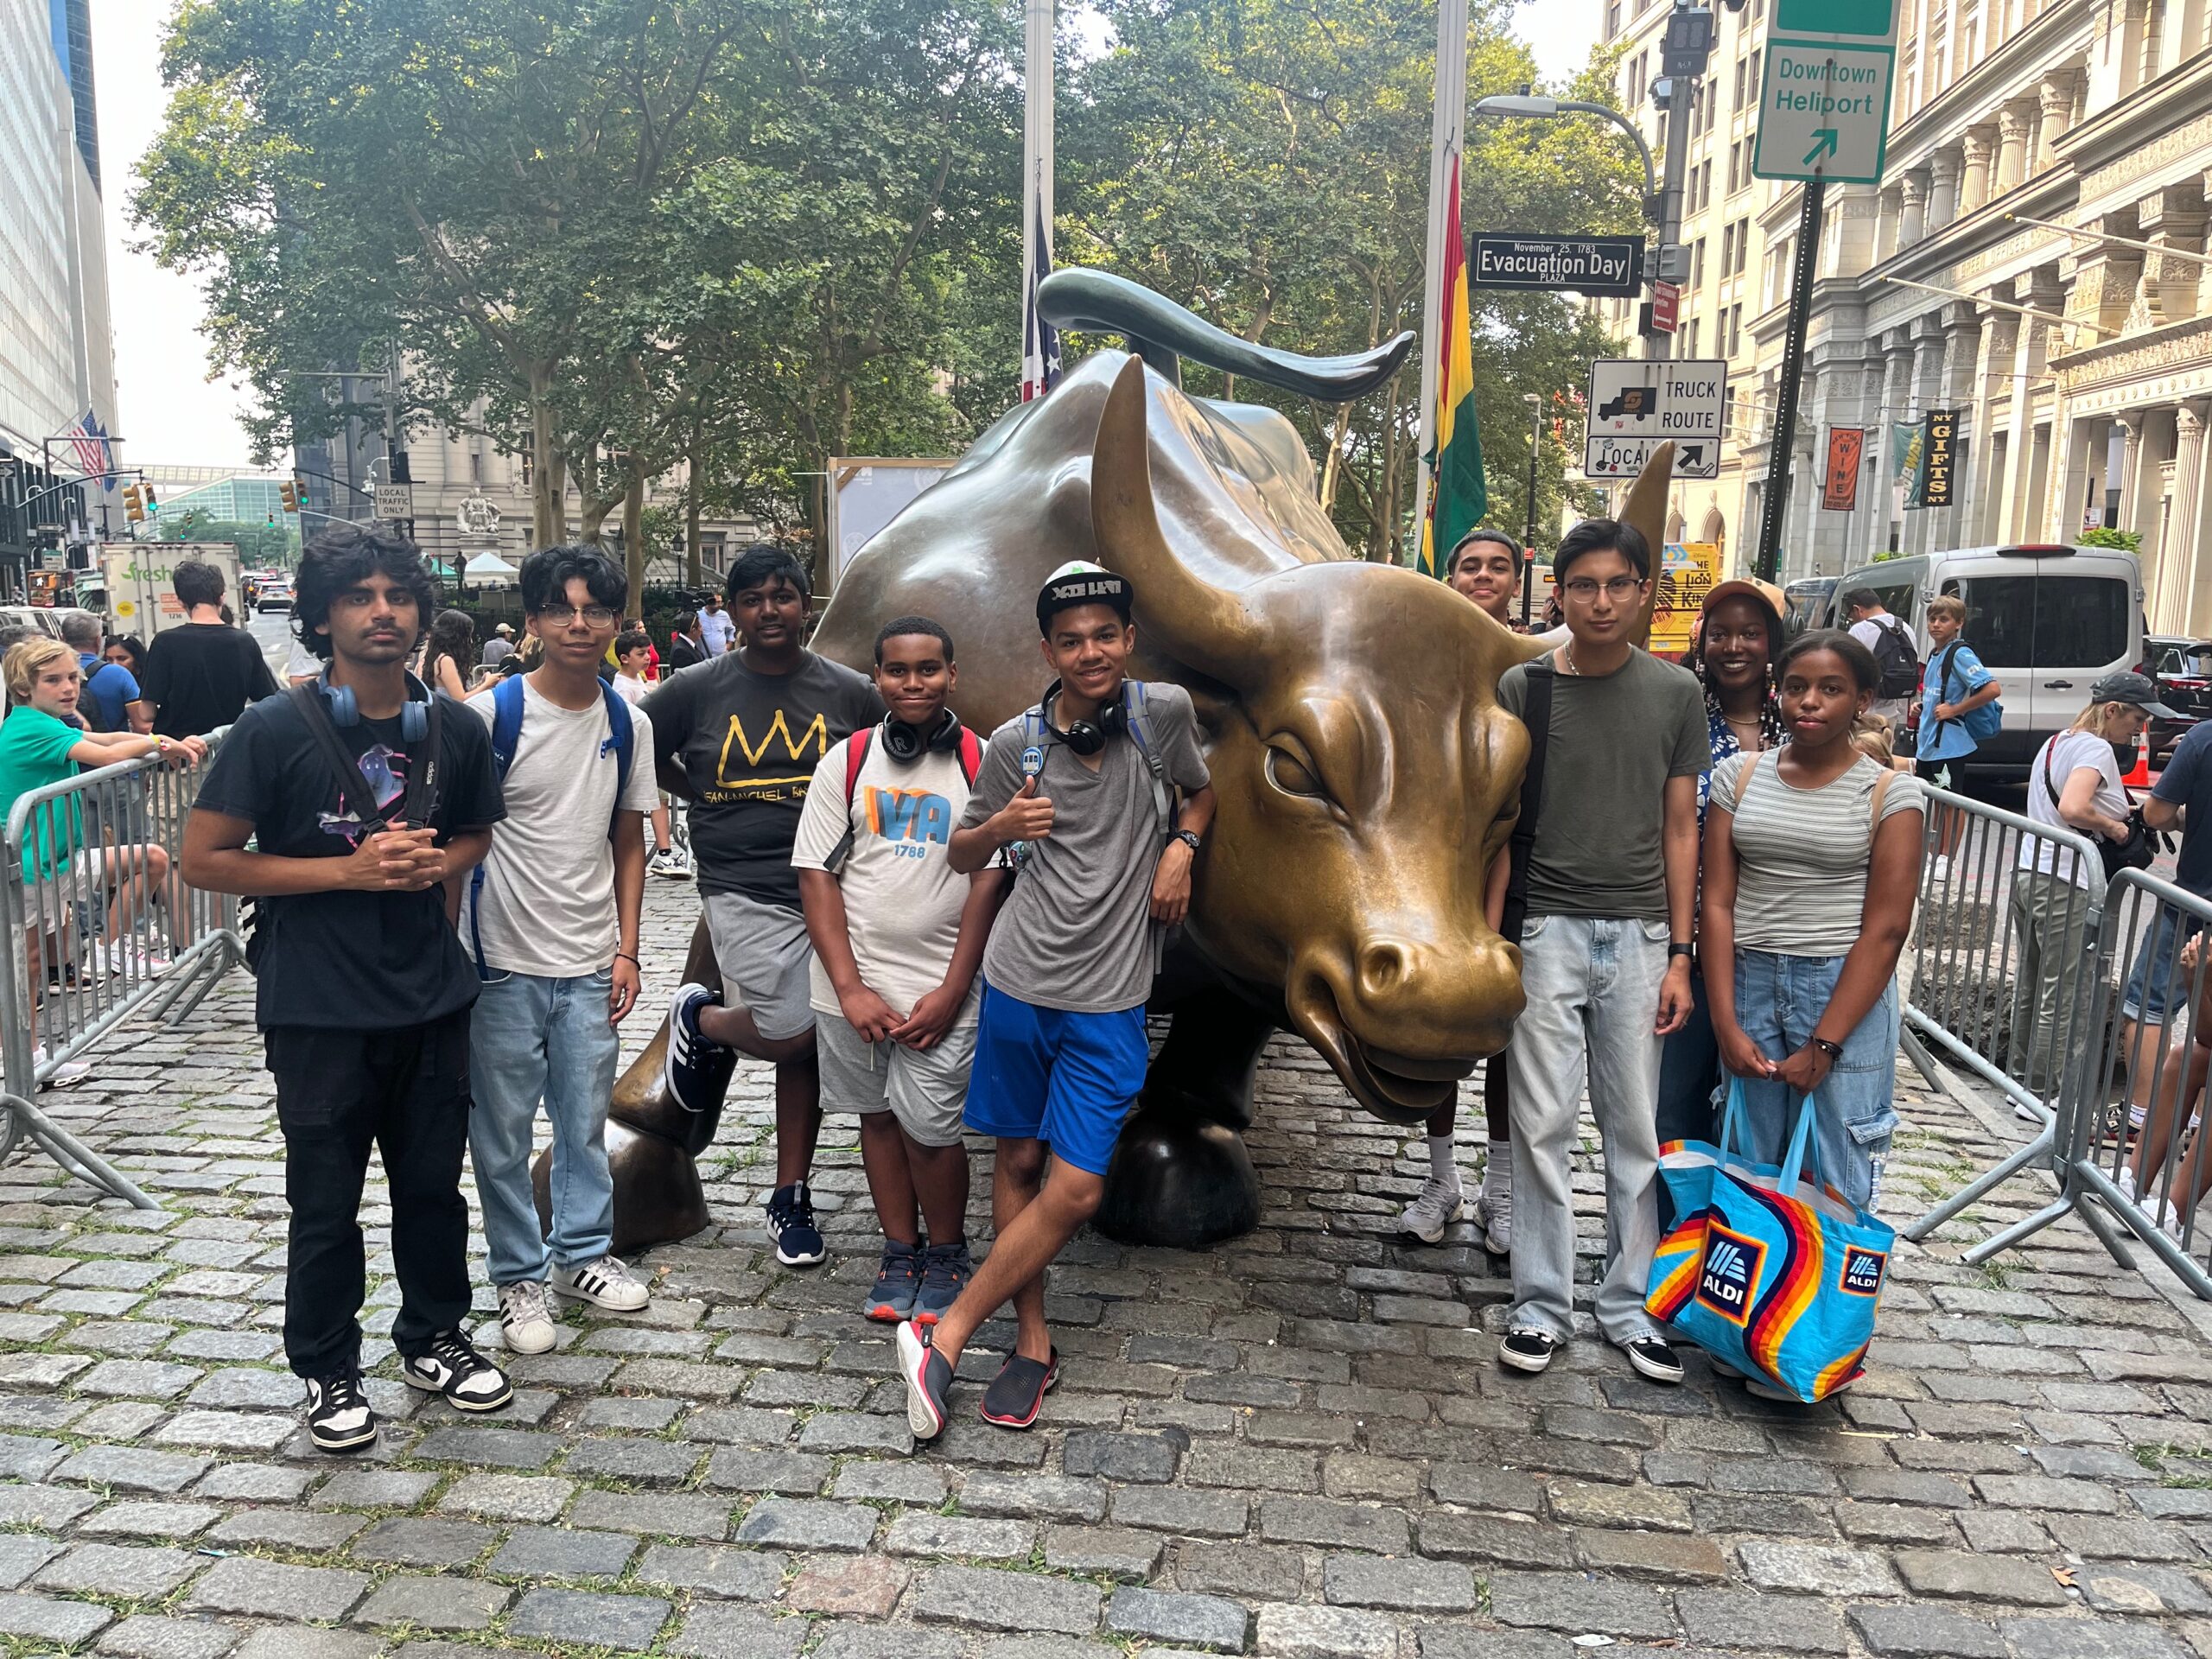
Thank you to Ilaria Costa, Lisa Ackerman, and the Columbus Citizens Foundation for providing this opportunity to our students. For more information about the Columbus Citizens Foundation, visit their website: https://columbuscitizens.org/
Students working on this project responded to a few questions about their process, challenges, and skills they have developed. Read their responses below.
What is the project and why is it important?
Oscar: The project consisted of creating and designing center pieces for the Columbus Foundation which is an organization that commemorates Italian heritage. The center pieces include 3D printed models that showcase a building, structure, and sculptures made from Italian architects and sculptors. This project is important because with the money that is collected from these centerpieces the Columbus foundation will use it for scholarships that will be given to students who are from Italian heritage.
Sameen: The project is to create dozens of centerpieces for the Columbus Citizen foundation, which is a foundation in which they celebrate and try to preserve the Italian heritage. It is an important and significant project because these pieces are going to sell for thousands of dollars.
Matt: The project is to create and design centerpieces of various landmarks in New York City that were designed/created by Italian-Americans. The end goal is for said centerpieces to be auctioned off for money at a gala. The Columbus Citizen Foundation’s main goal is to preserve Italian heritage.
What has been your process in accomplishing the project?
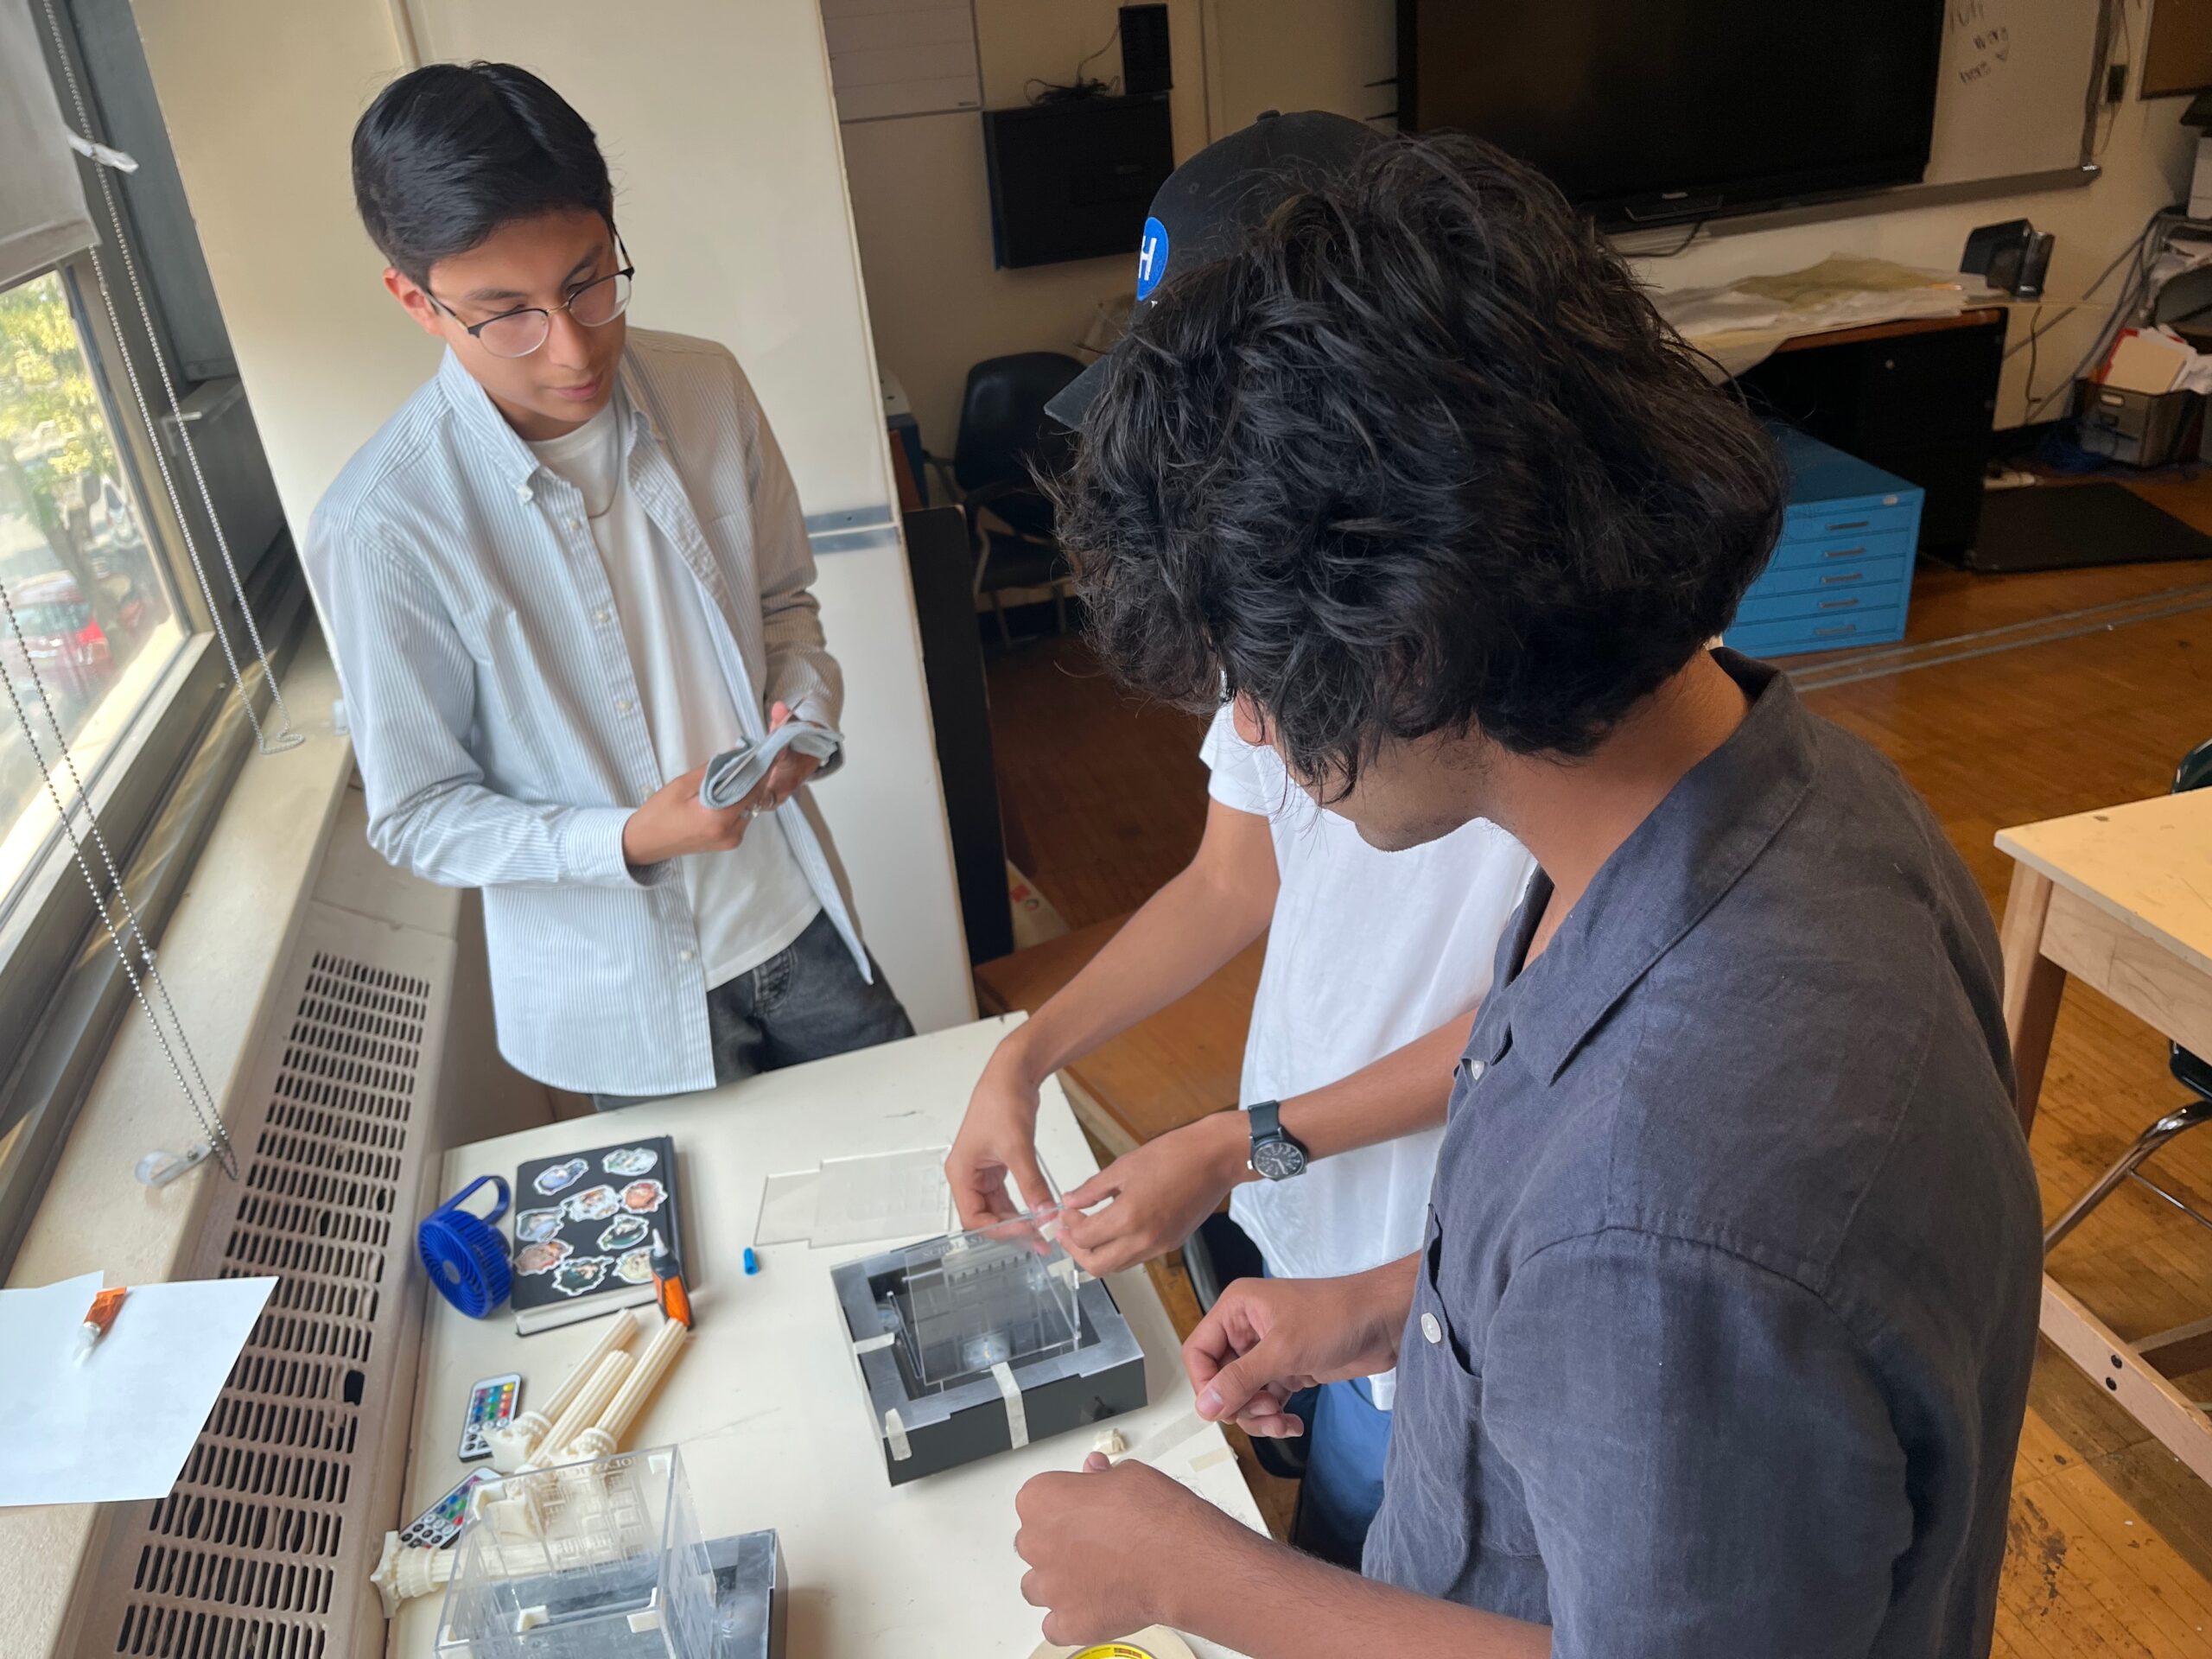
Oscar: The first step in designing the center pieces was to agree on a design. Once we agreed upon an idea, we began sketching ideas for that design. Once that was done, we then started with using software like AutoCAD and Adobe illustrator to design and create the parts that will be used to build the centerpieces. We all worked on a certain model and came together when designing the parts of the box and base. Once we had all of that done, we started to 3D print the models and laser engrave/cut acrylic sheets that were going to be used on the centerpiece. Once we had those pieces we began with gluing the acrylic pieces together to build the base and box.
Matt: The process I took when building the model (in my case the Verrazzano Bridge) was to find a good enough reference for the bridge towers, since those were the most recognizable part of the bridge itself. Once said towers were constructed, I decided not to include each individual suspension cable as it would look tacky and cluttered. I added a silhouette of Staten Island and the area around where the bridge is in Brooklyn and as a little neat detail I included Coney Island’s Parachute Jump as you can see it when driving on the Belt Parkway or on the bridge. Unfortunately, the Parachute Jump didn’t print out well on the final model, so I had to scrap that component of the design.
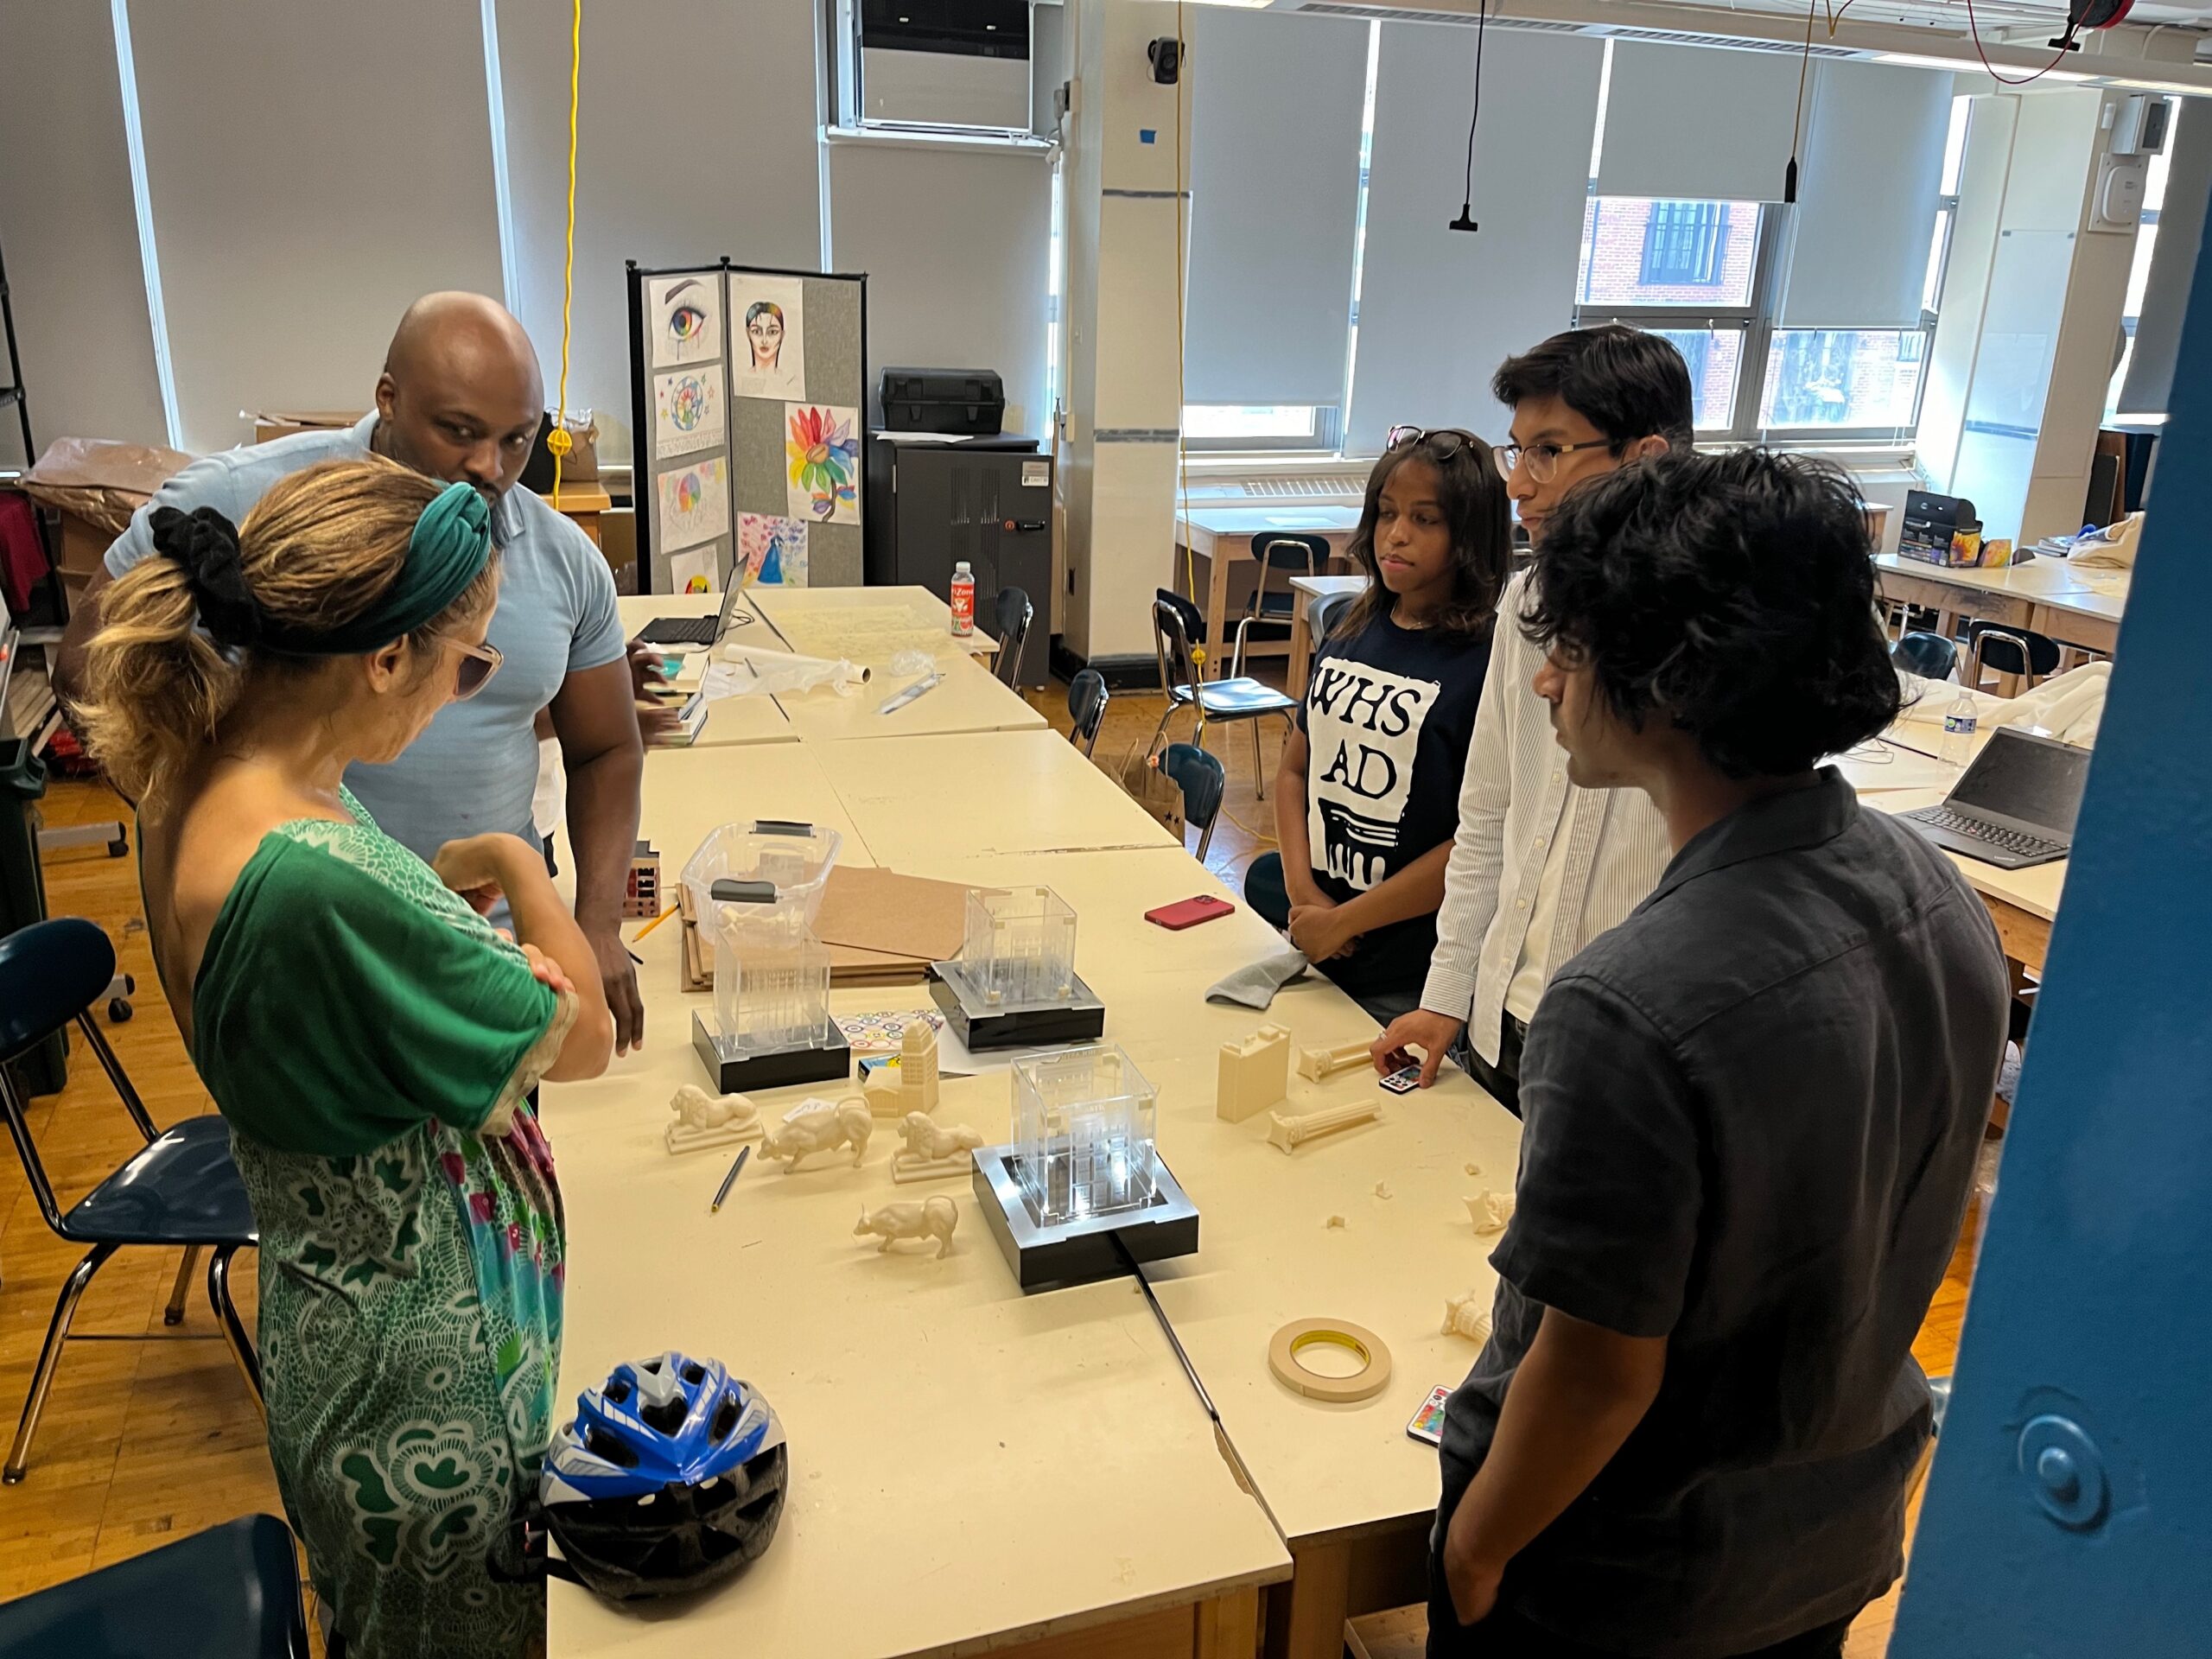
Sameen: One of the processes that I was heavily involved in was assembling the display. After we designed the acrylic clear and black displays parts and used a 3d engraver to engrave the parts out, we started assembling the parts together as a group. We first saw how the display would look by loosely putting it together to get an idea. And if everything was correct in proportions and scale. We then started to glue the parts together. For example, we started to glue the bottom of the black acrylic sides to the base, which showed the outlay of the street the architectural piece was in. It usually took a long amount of time to hold it down since acrylic
What have been some challenges you have faced when working through the process and how have you overcome such challenges?
Oscar: One of the major challenges was redesigning the box and base of the centerpiece. There had been some issues with the previous centerpieces that were created. One problem included figuring out a way to remove the lights once we had glued all the pieces. The lights were inside the base and we couldn’t find a way to remove them if we wanted to change the batteries. As a result we had to redesign a new base that made it easier to remove the lights.
Sameen: One of the issues that was significantly frustrating to deal with was how to not get fingerprints all over the acrylic display. Acrylic is a very delicate material as it can easily get covered by our oily fingerprints. To overcome this, we decided to wear gloves. Although this removed our fingerprints, it still left a messy residue of super glue all over the clear display. So we decided to use 3D printed columns to support the structure of it. Not only did these columns hide the glue residue but also gave it a more complex but elegant look.
Matt: One extremely frustrating thing was building the casing, which was primarily made out of plexiglass. The casing wouldn’t stick together with the Gorilla Glue we were using, and as a result when it finally did stick, it was messy and covered in our fingerprints and it looked shoddy in general. We even postponed progress to work on trying to construct a plexiglass cube without making too much of a mess. In the end, we realized that the glass acted like a magnet in a sense, two pieces of the same type of plexiglass wouldn’t stick right, but two different types would, or if it was glued to a 3D printed object it would also stick so we designed little brackets and printed to give the model extra support and make it easier to assemble. We also created columns to hide whatever glue residue was holding the pieces together and also to make it look slightly cooler.
What skills have you developed through this project?
Oscar: Some skills I developed was learning how to use the laser engraver and some of the features it has. In addition, I also learned how to use Adobe Illustrator and its features that are included in the program. Furthermore, I also improved my skills I had on AutoCAD like extruding and press- pull and learned other features like subtracting, to cut a solid object and array which created more than one object in a certain order. All this made designing and creating much easier and faster.
Alexa: One of the many skills that I have learned while doing this project was that how to manage the AutoCad and Adobe illustrator softwares better over the span of a month. Additionally, as the project manager, I have learned how to work with my team while improvising on past designs that we all decided to make.
Matt: Some skills that I learned were how to use the laser engraver/cutter, a vital tool in the grand scheme of things. Without it, we wouldn’t be able to do anything at all. Adobe Illustrator is a tool I use a lot, especially when I make New York City Subway related signage for my personal usage, but I also learned that it could be used to plan out where the laser is supposed to cut or engrave the design that we need.

Sameen: One of the skills that I was able to learn from this project is how to use architectural measures to my uses . Throughout the project, we had to calculate a lot of lengths and widths of the models and the display. And constantly doing that enabled us to automatically measure the units in ¼,1/16,1/24, etc.
How could you use what you have learned from this project in future endeavors?
Oscar: The skills I learned in this project will be helpful with the career that I want to pursue. AutoCAD is a crucial program that is used in the architecture field and knowing at least a bit of information is important because you’ll be one step ahead. This project also taught me how to work as a group and come together to create something. It taught me how everyone had different views and ideas and how we can all incorporate them in the project without any complications.
Matt: I learned to use teamwork better, and although that sounds like a lesson you’d learn from some kiddy-cartoon it’s semi true, as we needed to work together to assemble the case. Also, I learned that scale matters whenever 3D printing an object, as the bridge’s cables were too thin on the original model, and snapped off, the top of the Parachute Jump also suffered this same fate. The cables were more or less quickly made, then just copied a few times, so when I redid them, I made sure to make them thicker. I learned not to judge a book by its cover in a sense. Illustrator isn’t just for designing maps or making a sign, it can be used for much more like engraving a piece of plexiglass. Another one is (although I’ve been told numerous times before) not to rush on stuff, as it won’t be the best. Quality over quantity, (or in this case quality and quantity.)